
Visiting Ultimaker
On the first day of the week we visited the office of Ultimaker in Geldermalsen. We brought our 3D-printer so we could show them what we did so far. We received some PLA filaments which we could use. These are more easy to work with than ABS filaments.
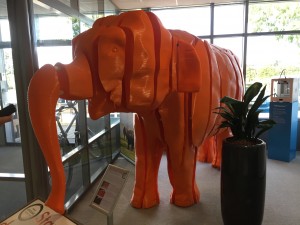
A model which is shown at Ultimaker. Joris also helped on this project.
New Fibers
We ordered three new non-prepreg fibers to look at there properties. The three new non-prepreg fibers, namely aramide-, glass- and carbon fiber, arrived. We tested how these would stick to filaments by pressing them together with a soldering iron. We found out that a thin cluster works better and results in a tighter wound fiber around the filament. After printing the fiber is also more enclosed into the filament.
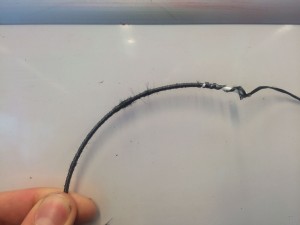
A thick thread of carbon fiber is wound around a piece of filament.
Wrapping the fibers
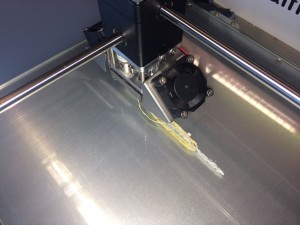
By using the extension that was provided by Joris, we could test the winding of the fiber around the filament. The use of windings is due to the fact the filament will be printed on a larger distance in the print. We had to find the right ratio between the fiber and the filament. The biggest problem with the winding ratio is if the settings are changed while converting the STL file into g-code the perfect winding ratio changes. The ratio can be controlled by manipulate the speed of the wrapping according to the speed of the extrusion of filament. This way the amount of fiber around the filament can be regulated. The ratio was find y first making sure that the stepper motor of the filament extrudes 1mm of filament when it extrudes on 100% and then we measuring the amount of steps that is needed to rotate the winder ones. Taking in account the gear and fine-tuning the entire system we found a ratio which has variables such as nozzle head and layer height.
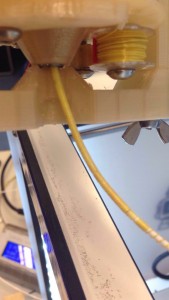
The end of the winder with an open part which holds everything together but shows the windings.
Homemade Prepreg-fibers
We tried to make our own spools of thin fibers. This gave some challenges since the fiber thread consists of thousands of very thin fibers, it clusters when it is put on a spool. We decided to glue the tiny fibers of one thread together with a glue stick.
Inspection of the “glued” treads.
After letting them dry, we put them on spools, and we had our homemade (low-budget) prepreg-fibers. We put these fibers on the Ultimaker, and were able to get the filament, together with the fibers through our nozzle.
Our first “3D-print” including fibers.
Adjustments of the Ultimaker
The stepper-motor of the winder has to be full step. This can be achieved by removing a resistor on the PCB. We also changed our nozzle to an Olsson block. This gives us the possibility to change more easily the nozzle and repair it when it is blocked. Until now we always had printed with a nozzle of 0.8mm. This gave trouble when printing with fibers. Cause of the fact that our fibers were homemade, the thickness varied so the winding ratio we used wasn’t the ideal one. Another problem this gave was the fiber we got through the nozzle hadn’t enough filament to print with. We decided to take a 1.2mm nozzle to see if this would go better. The disadvantage of making the nozzle-opening bigger is that it losses its pressure inside the nozzle. The pressure is important to ensure that the fiber is well embedded into the filament.
Cutting Extension
The cutting extension that we designed was printed and we tried it out. The stepper-motor that we used was not fast enough to cut through the fibers. An other motor would mean redesigning the whole extension. We realized that we should not yet focus on this extension, since we should first be able to successfully print fibers in straight lines.
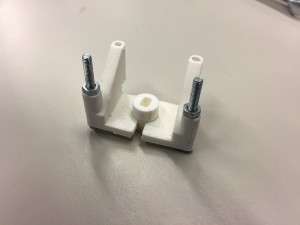
Part of the cutting extension.


